Community Craft Order (DTF Practice)
This practice guide crafts by role, not by portrait: a main DPS, a second DPS, a main tank, a second tank and a support. Who exactly holds each job depends on the…
☰ On this page 13 ▾
🗓 Updated: 2026-10-12
Community Craft Order (DTF Practice)
This practice guide crafts by role, not by portrait: a main DPS, a second DPS, a main tank, a second tank and a support. Who exactly holds each job depends on the account (Marlena, Red Lady or another carry; Arthur, Daskal, Louis or another front) — the function decides the item.
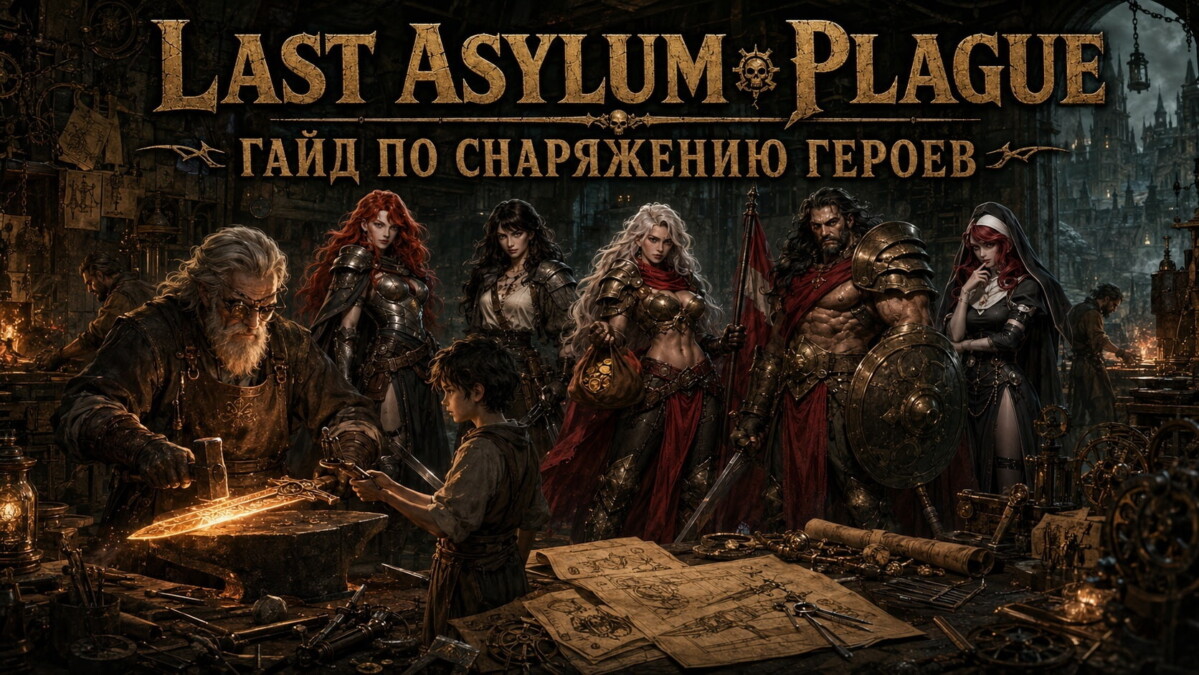
Purple gear is not trash
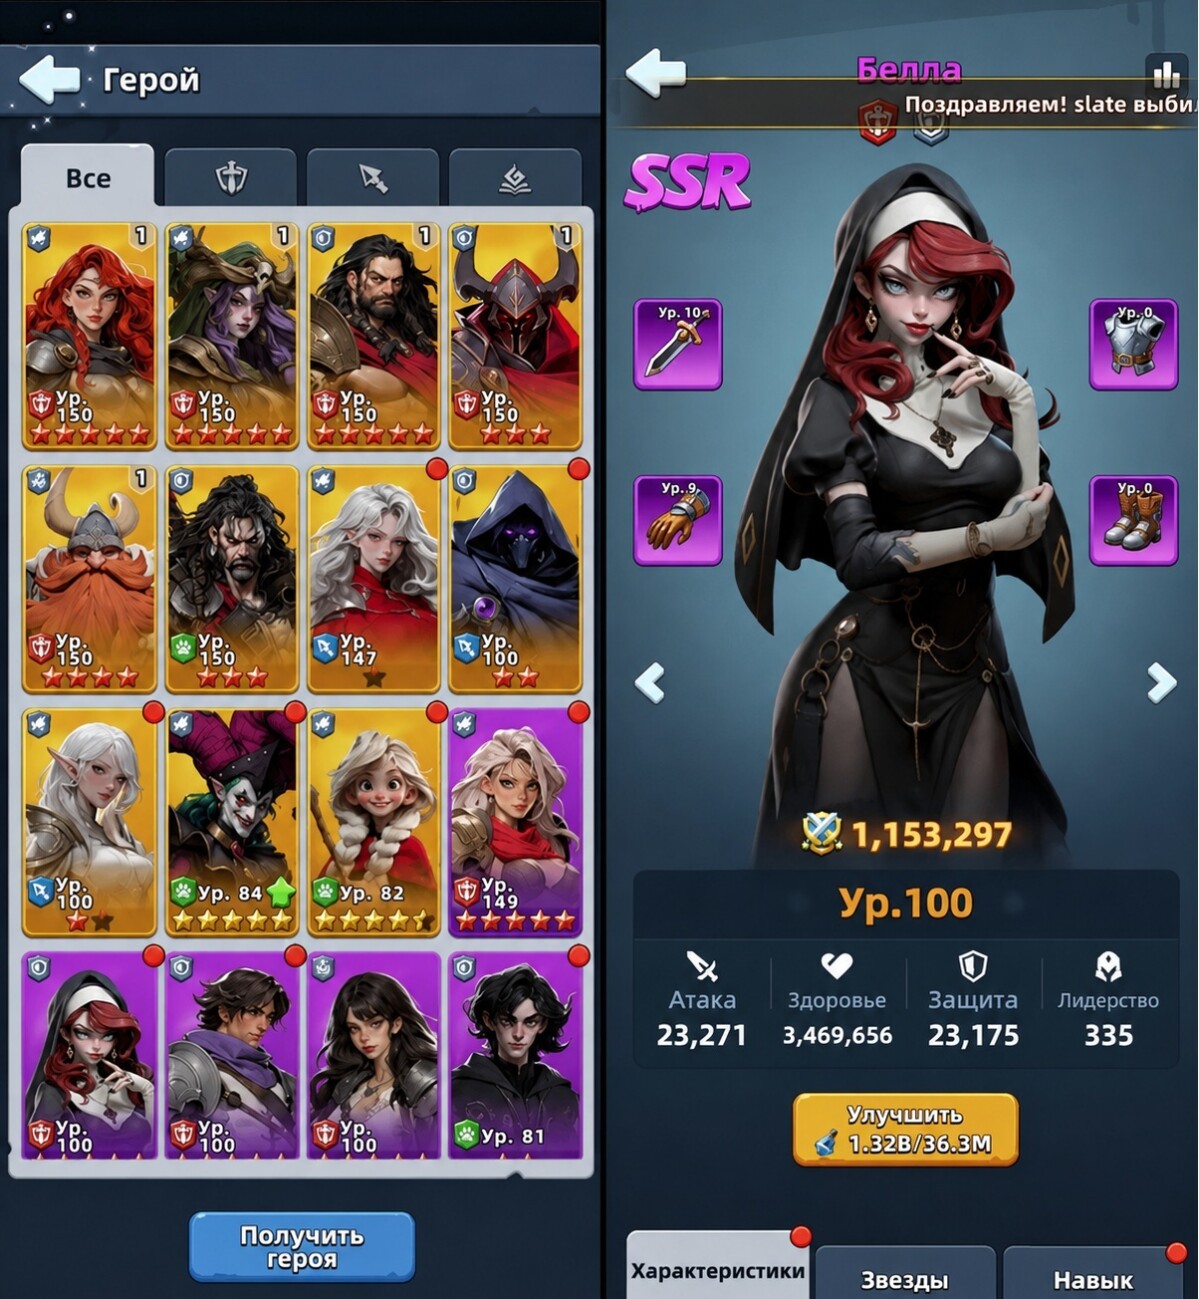
Do not treat purple gear as junk until a gold replacement exists. The rule is simple: the main five must always be dressed — not perfectly, not instantly gold, but with no empty slots, because empty slots are lost stats that quickly become “why did I lose again”. Second and third squads can keep purples; gold resources stay with the main squad until it stands.
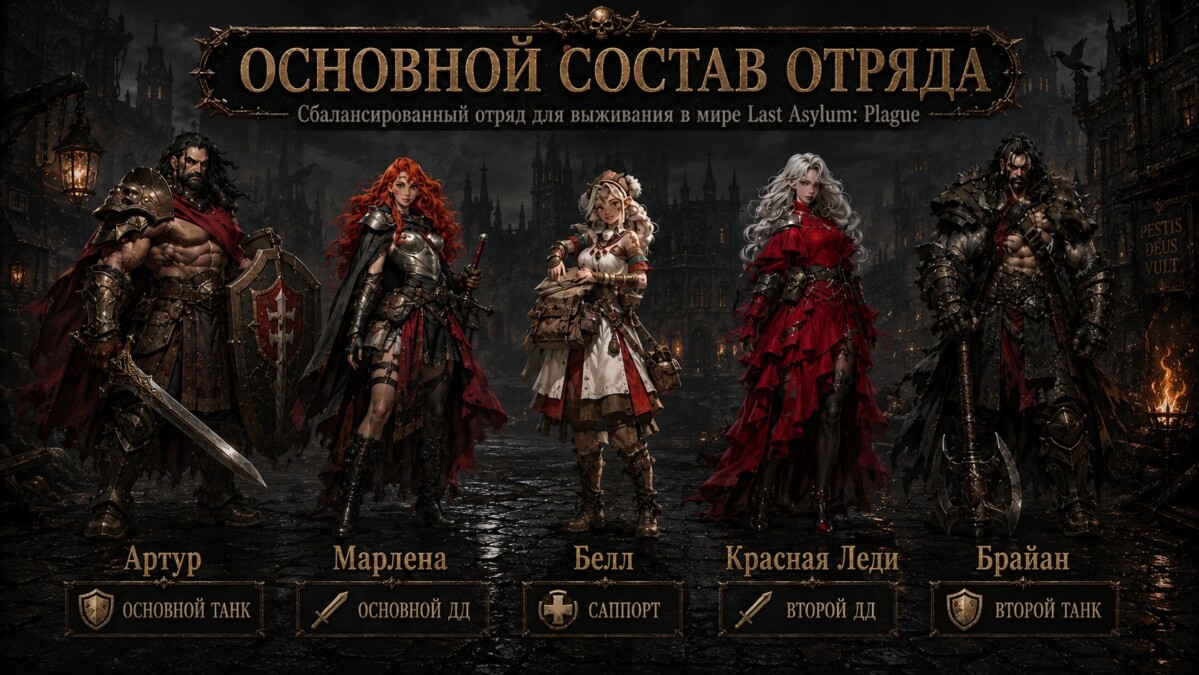
Squad roles for this chapter
- Main DPS — most of the damage. 2. Second DPS — finishes and pressures the backline. 3. Main tank — takes the hit. 4. Second tank — keeps the front from collapsing. 5. Support — heals, buffs, saves.
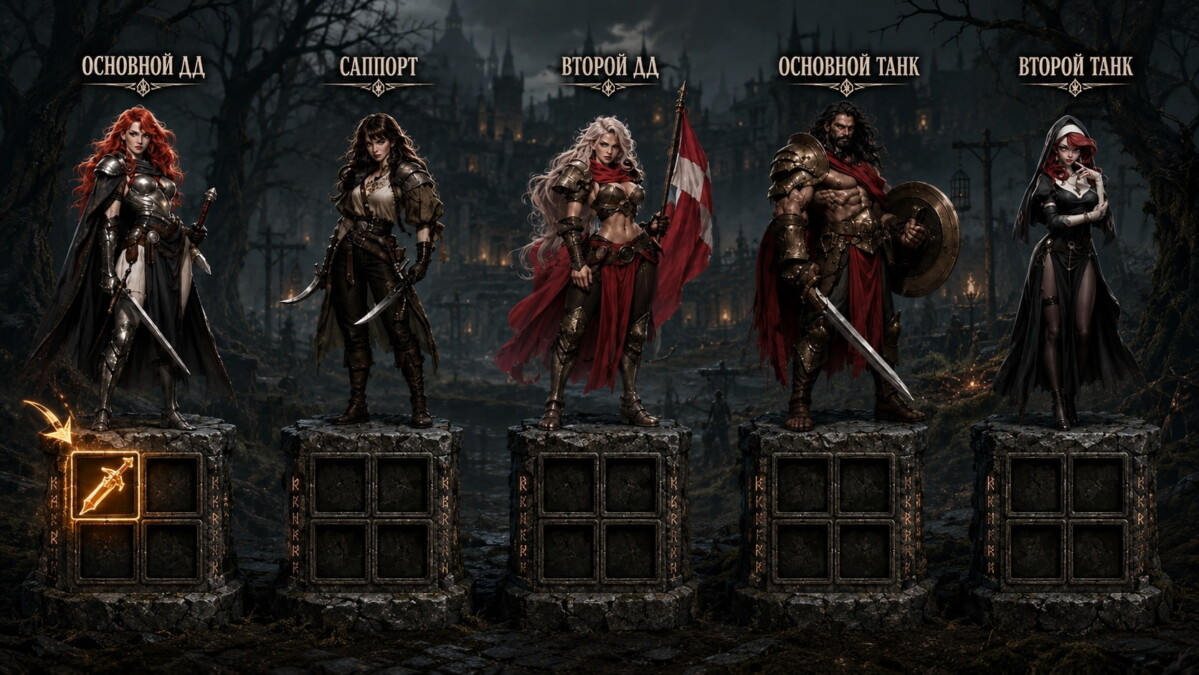
First gold: main-carry sword
The common first mistake is starting with the tank. Without damage, the tank just watches a longer loss. So item one is a gold sword for the main damage dealer: it scales the carry’s whole point plus crit, and fights are often decided by whoever breaks the enemy backline first — not by the fattest shield.
Item two stays on damage: sword for the second damage dealer. One carry can be switched off; two add stability, finishing power and skill value.
Next: gloves for both damage dealers
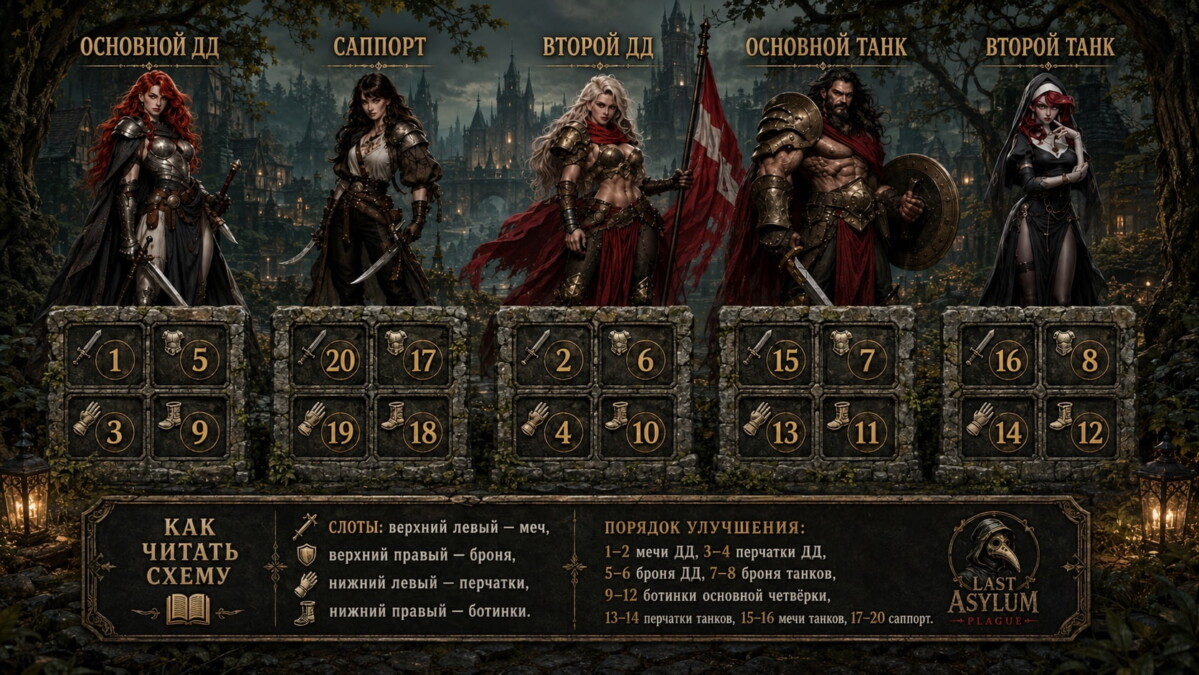
Items three and four are gloves (main, then second) — attack potential plus useful stage bonuses that stack with what the swords already give. Two swords and two gloves form the first real attacking frame.
Why armor goes to damage dealers before tanks
Tanks have more base HP and defense; thin damage dealers die before their key skill. So items five and six are armor for the main and second DPS (survive to cast, crit and tear the target), and only then armor for the two tanks (seven, eight). The front matters — but damage must get its chance first.
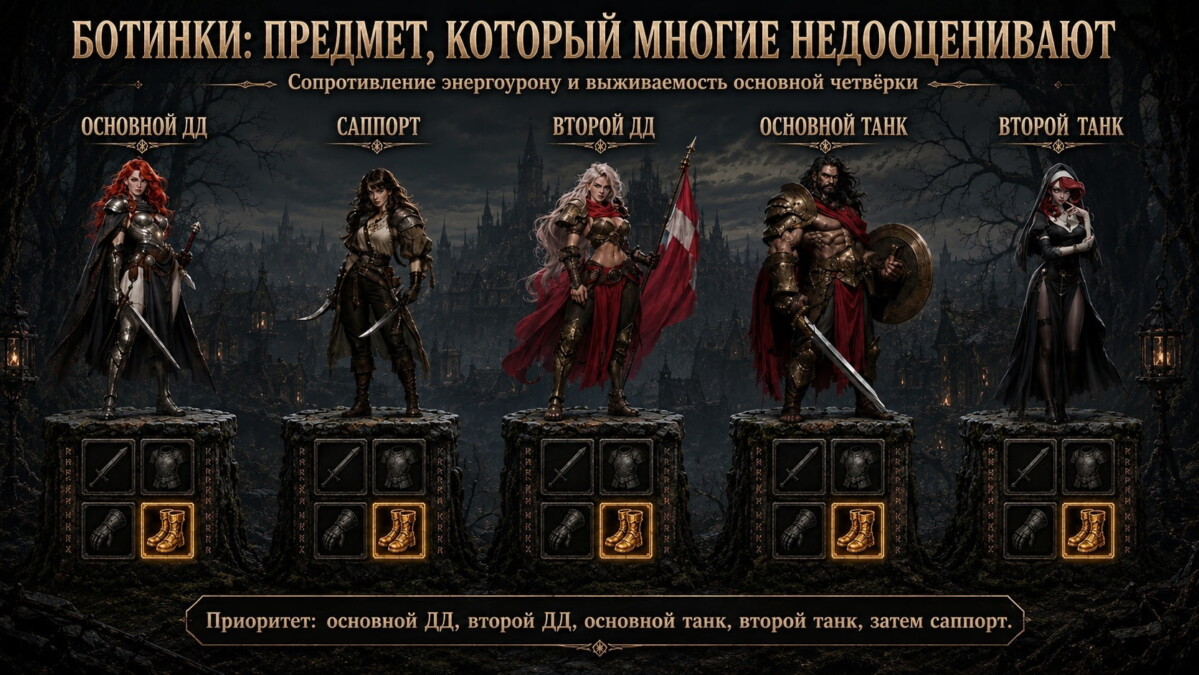
Boots: energy resistance for the core four
Boots at key levels give energy damage resistance, which battle reports show hitting both back and front lines from enemy carry skills. Craft order: boots for main DPS, second DPS, main tank, second tank (nine–twelve).
Then tank gloves and tank swords
After the core four have boots: gloves for both tanks (thirteen, fourteen), then swords for both tanks (fifteen, sixteen). Tank swords are not first, but they are not useless late — stats count in the endgame, and some tank skills tie into damage or recovery.
Support last — not least
Support does not race for the first sword because its job is surviving, casting and buffing. Order: armor → boots → gloves → sword (seventeen–twenty). Armor and boots keep it alive, gloves add parameters, the sword is the final touch once the core four are dressed.
Level thresholds: 20 first, then 40
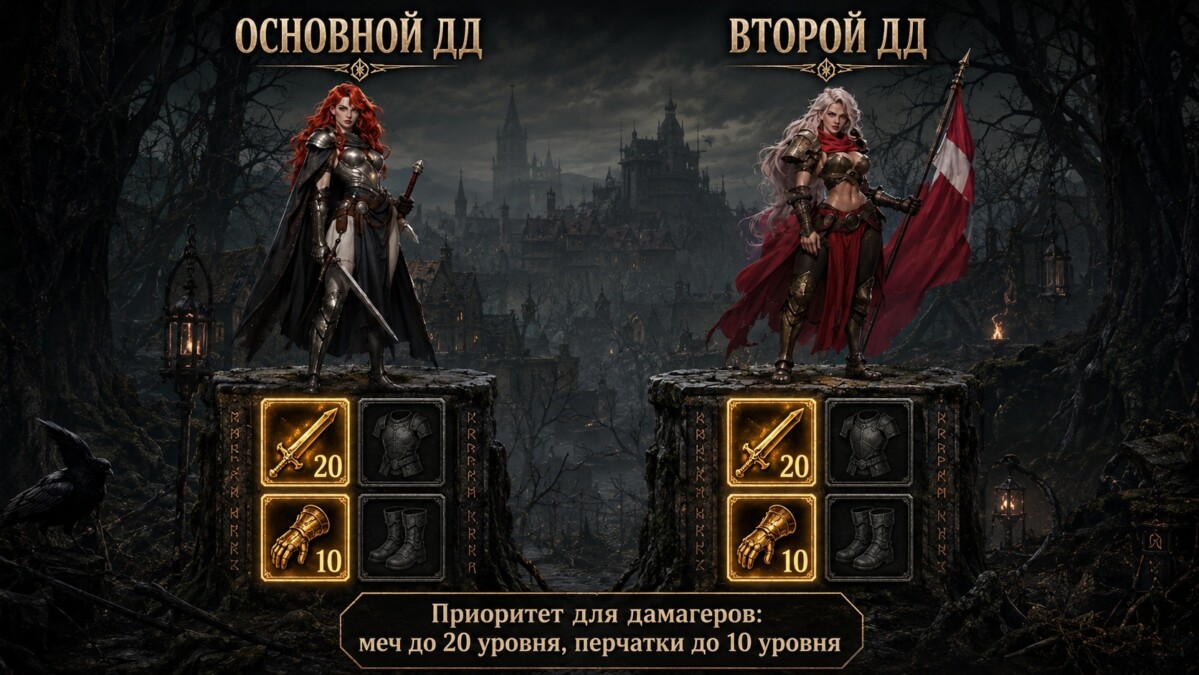
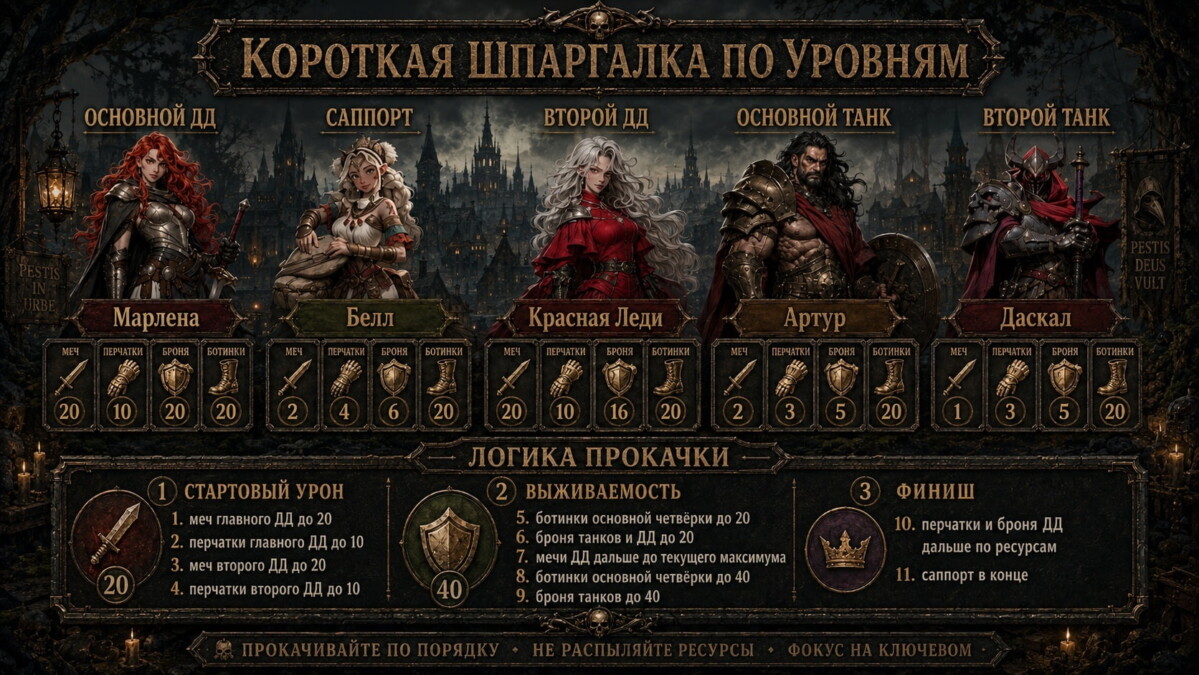
Crafting is only the start. First real gate: main-carry sword to 20 (crit bonus the whole sword project exists for), then main gloves to 10; repeat for the second carry (sword 20, gloves 10) — the first attacking minimum. Do not wander to tank armor, support boots and second-tank swords in between, or nothing spikes.
Next survivability comes from boots to 20 (energy resistance) in order main DPS → second DPS → main tank → second tank → support. Then armor to 20 (main tank, second tank, main DPS, second DPS, support — adjust by reports: backline dying fast → DPS armor earlier; front melting → tanks first).
Then the adult phase: carry swords toward the current star cap (main first, then second), then DPS gloves, then defense. Boots of the core four to 40 is one of the best defensive steps against energy metas — heroes live to cast one more skill, which can decide the fight. Then tank armor to 40 (physical bonuses for the front line), DPS armor (30 for base stats and HP on the way, 40 in perspective). Support: boots to 20/40, armor to 20/40, gloves, sword last.
Stars: where the real pain starts
Stars unlock after the Gear Workshop hits level 20 and run on blueprints: 1 star = 5, 2 stars = +10, 3 stars = +15, 4 stars = +20 (50 blue per item to 4 stars); the 5th star needs red blueprints — a luxury project for items that will live on the main hero long (main DPS first, then second DPS, then team defense).
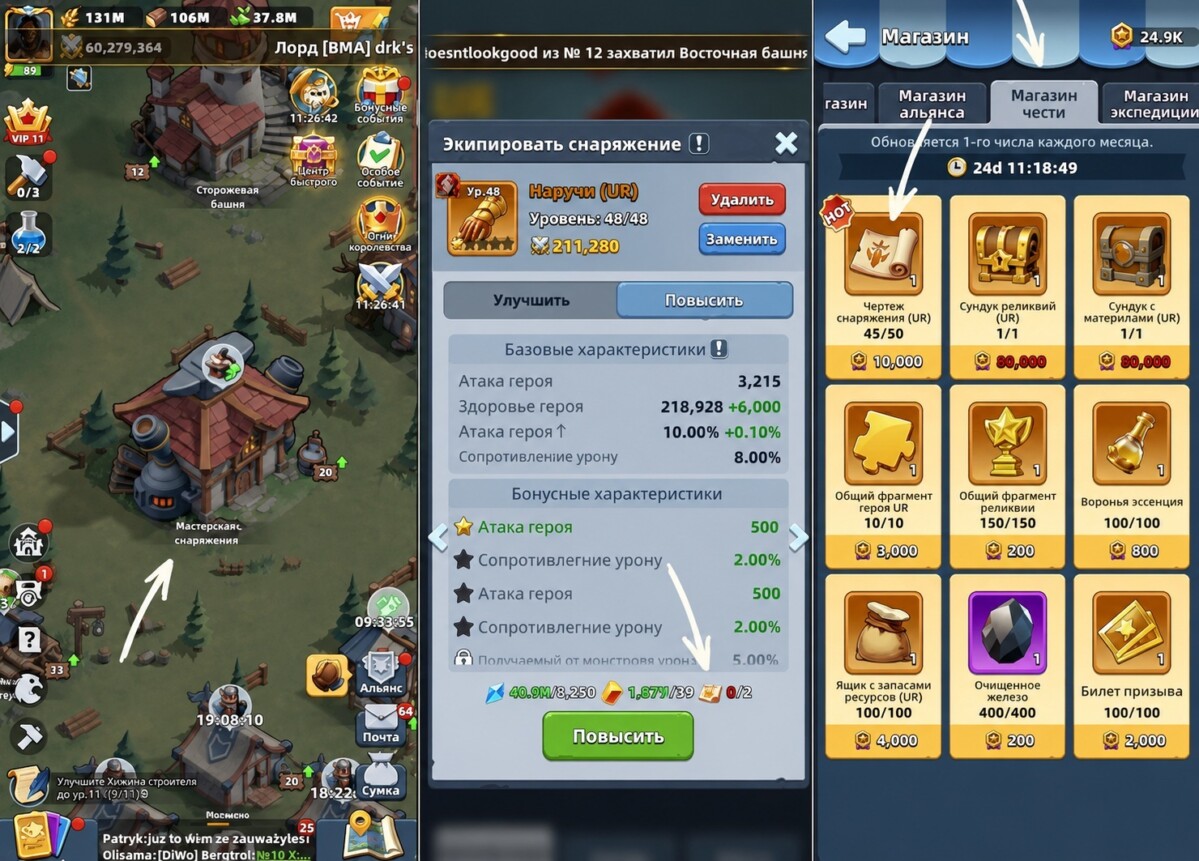
Star order: 2 stars on the main-carry sword (gain plus higher cap) → 1 star main gloves → 2 stars second-carry sword → 1 star second gloves → main sword toward 4 stars → core-four boots to 2 stars → DPS gloves, armor, tanks, and 5-star keys. Sword effects scale battle damage; armor helps vs crits; boots cut crit damage; gloves add damage and resistance — but reds are not party candy.
Where blueprints come from
Blueprints tie to the Honor Shop and medal events (Arena, Elixir, Kingdom War, Canyon, Crystal Valley). Never skip Honor-currency events even when blueprints feel unneeded — they become the narrowest bottleneck later. Pick the item first, then gather for it.
One strong squad beats two half-built
Throne, tower, castle, Arena, Elixir, Canyon, Crystal Valley: the first squad must break the opponent, and a second average squad does not save it. Max the main squad first, then the second, then a third. Craft, level and star cheatsheets:
Craft: sword main DPS → sword second DPS → gloves main → gloves second → armor main DPS → armor second DPS → armor main tank → armor second tank → boots ×4 → tank gloves ×2 → tank swords ×2 → support armor/boots/gloves/sword.
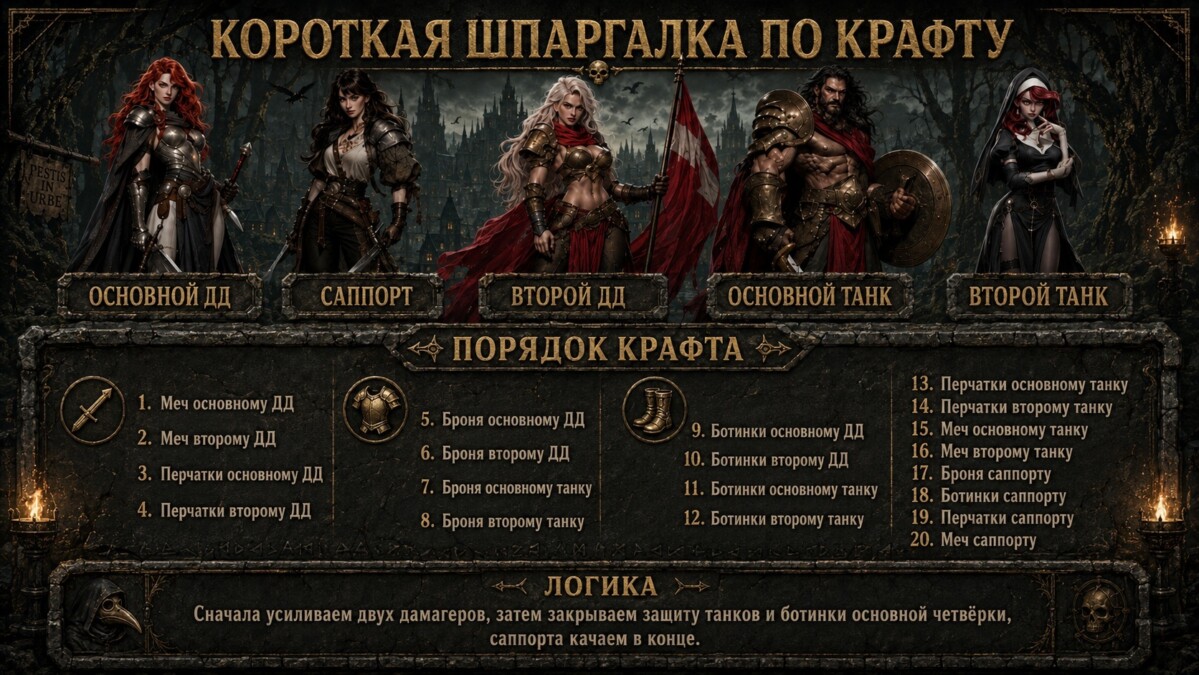
Levels: sword main to 20 → gloves main to 10 → sword second to 20 → gloves second to 10 → core-four boots to 20 → tank and DPS armor to 20 → DPS swords to cap → core-four boots to 40 → tank armor to 40 → DPS gloves/armor on → support last.
Stars: 2★ sword main → 1★ gloves main → 2★ sword second → 1★ gloves second → sword main to 4★ → core-four boots to 2★ → DPS gloves, armor, tanks, 5★ keys.
If in doubt: does this raise my main damage or help the main squad live to its skills? A glowing red dot is not your boss.
Source: Last Asylum: Plague - гайд по снаряжению героев by Гейм-Знаток on DTF.
📖 Read next
Did this guide help?