Canyon Conquest: estratégia de faixas

A batalha de revezamento em três faixas onde a constância vence o poder: as regras de revezamento, o limite de 3 lutas, a estratégia de prioridade de faixa, bugs conhecidos e por que este é o melhor evento de risco zero do jogo.

Guide Updated • Community verified
☰ Nesta página 9 ▾

Canyon Conquest é a batalha de faixas da aliança: três faixas, e a aliança que ganha 2 de 3 faixas leva a partida. Mas o formato é um revezamento — os jogadores mais fracos lutam primeiro, e um jogador fica na faixa até perder. Entender o que esse revezamento faz com a estratégia de formação é o evento inteiro.

Este guia cobre as regras de revezamento, a estrutura de recompensas, a estratégia de prioridade de faixa com suas variantes principais, os bugs conhecidos e por que este é o evento mais seguro do jogo.

As regras do revezamento

  1. Os mais fracos lutam primeiro. Cada faixa começa com seus jogadores de menor CP e só escala quando alguém perde.
  2. O jogador fica até perder, aí entra o próximo. Um jogador vencedor segura a faixa e continua lutando contra o próximo desafiante — não existe rotação depois de uma vitória.
  3. Máximo de 3 lutas por jogador. Depois de três lutas você está fora da partida.
  4. 15 jogadores por faixa. A aliança divide seu elenco entre as três faixas.

Consequência do revezamento: se seu lado ganha cada luta com 2 mortes por jogador, só 8 dos 15 jogadores da faixa chegam a lutar. Sete jogadores ficam sentados a partida inteira sem gastar uma luta. Esse fato dirige cada decisão de formação abaixo.

Recompensas e o nível de 3 mortes

  • A recompensa de 3 mortes é limitada por nível — você precisa que suas três lutas sejam mortes para atingir o nível pessoal máximo.
  • Como jogadores mais fortes no fundo da faixa enfrentam oponentes mais fortes, o nível de 3 mortes normalmente pertence ao topo do elenco — planeje suas expectativas pessoais em conformidade.

Rodadas e grupos

  • A cada 5 rodadas a partida termina e recomeça do Registro. Re-registre-se a cada ciclo.
  • Ganhe e você sobe para um grupo superior; perca e fica no mesmo ou cai para um grupo mais fraco. A escada auto-organiza alianças ao longo do tempo.
  • Um "bye" é possível mesmo com 15 completos — um número ímpar de faixas registradas significa que alguém avança sem lutar. É sorte, não bug.

Bugs conhecidos

  • Substituído após 2 vitórias sem perder — o revezamento deveria manter você após vitórias, mas alguns jogadores são puxados para fora depois de dois triunfos. Reporte se acontecer com você.
  • Jogadores registrados excluídos da rodada 2. Registros velhos podem te deixar fora da próxima rodada. A remoção da lista é só R4/R5 — se estiver preso, peça à liderança para te limpar para poder re-registrar.

Estratégia de prioridade de faixa

Você não precisa vencer TODAS as lutas — você precisa das faixas CERTAS.

A formação de consenso

  1. Priorize 2 das 3 faixas. Ganhar a partida exige 2 faixas, não 3 — despejar o elenco igualmente nas três só garante perder a terceira de qualquer jeito.
  2. Divida o top-30 igualmente em duas faixas fortes, e preencha os corpos restantes na terceira.

O refinamento: os dois mais fortes para a faixa fraca

  1. Envie seus 2 jogadores mais fortes para a TERCEIRA faixa fraca — eles carregam-na.
  2. A lógica é aritmética de revezamento: seus jogadores mais fortes estacionados nas faixas fortes com frequência nunca lutam, porque os jogadores mais fracos da faixa ganham antes mesmo de os ases serem necessários. Na faixa fraca, eles são a diferença entre 0-1 e uma faixa viva.

O contraponto que funcionou

  • 3 times equilibrados com o top-3 de jogadores em cada também verificalmente funcionou — uma âncora por faixa em vez de uma faixa cedida.

Nenhuma formação está errada no vácuo. A leitura correta: confira quem ganhou e perdeu onde na próxima rodada. Seus oponentes mudam de grupo para grupo, e a formação que ganhou esta partida pode precisar de reequilíbrio na próxima. Adapte-se, não pilots no automático.

Por que este é o melhor evento de risco zero

Canyon Conquest não tem perda de tropas, risco de recursos nem custo real de vigor — diferente do KvK, onde uma cidade sem escudo queima. Você luta com poder de torneio emprestado, e seu exército real fica em casa intacto. Isso torna um dos melhores eventos para recompensas seguras do jogo: apareça, registre-se, lute suas três lutas, recolha.

O único custo real é atenção à formação — e as regras de revezamento acima são toda a meta de formação.
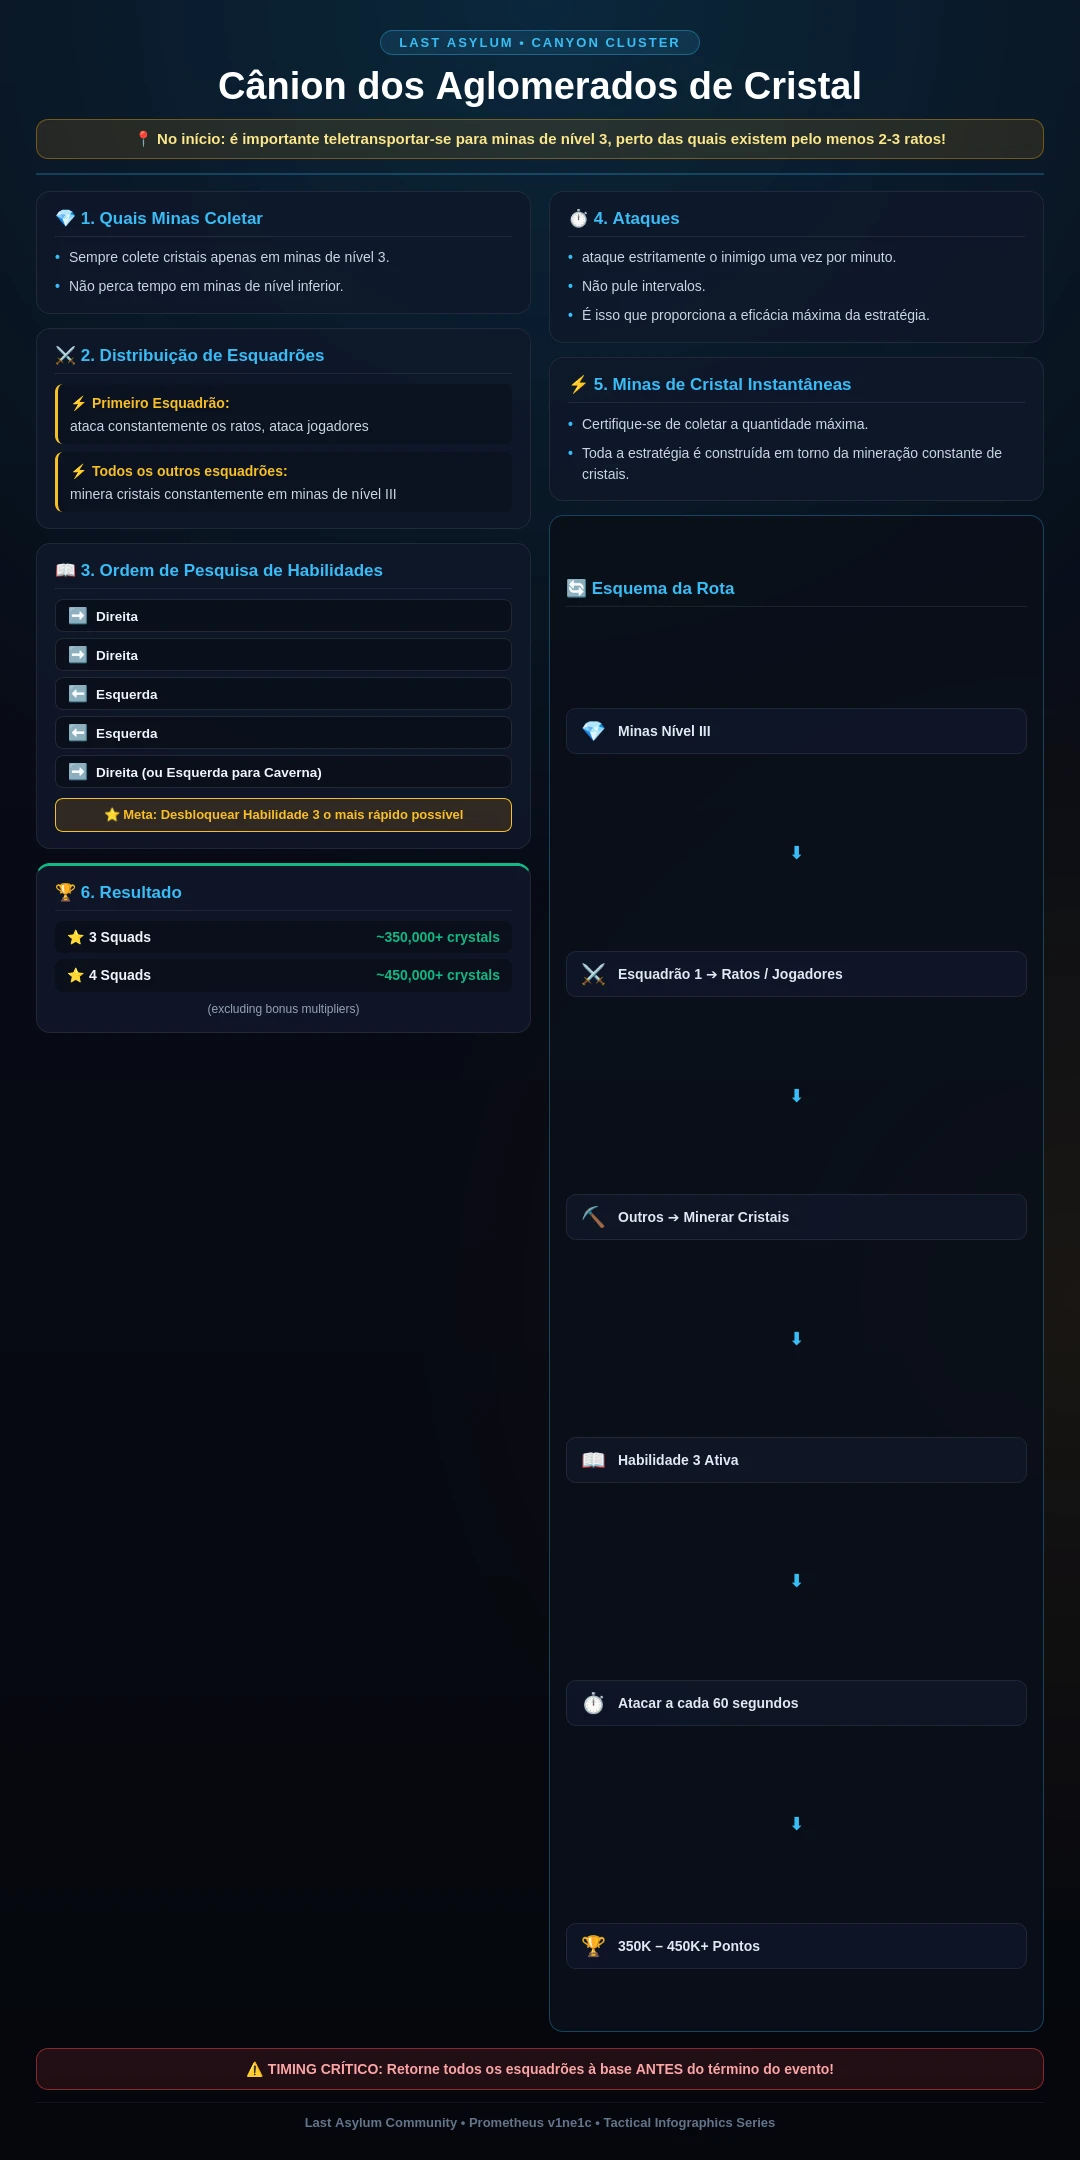
Canyon Crystal Rats

🎥 Guias em vídeo

Guias em vídeo selecionados e análises estratégicas da comunidade

📝 Transcrição de Texto 8:50 (530 сек) ▼
Transcrição Completa:
What's up guys Corpus Gaming here and today we're going to talk about Canyon Conquest event and you know what to do if you like these guys hit that
subscribe smash that like and let's get into it.
So guys here's interface of the Canyon Conquest event and we have the registration phase and I went when I started filming this
it's already Wednesday so we skipped the registration phase but what you going to do here is you basically going to get your alliance to set up
their squads and register for this event. If you don't register you cannot join so you really want to get everyone involved and make sure they send out the
best squad as possible. Here we have our enemy for today and here we can see the group that we are fighting.
Underneath here is the exchange shop and it goes straight to the fame medal shop and um here is the match records. Of course
this is going to be our first battle so we still have to wait to see into these records but once you go to round two you want to really check out round one
records to see what your enemy did and what you did wrong so you can really push your alliance to get better in the second round and try to grab all the
wins that are possible for you. And here we have the rules and it's pretty straightforward a lot of writing here.
If you care to read then you can but it's it's just a lot of basic information. Once we go here these are the rewards and this is what we want. We
want those big rewards. We want to get to the Mystic League and if you follow these guys you will get there I promise you and what we have here are these
crazy fame medals that we want to collect and some gear stones and some speed ups but those are not really important. What we want are the gear the
fame medals and the gear stones.
You get more rewards for each victory you take and it's gets higher once you get in a better league. So, that's really amazing. Then we have these kill
rewards. If you kill an enemy squad, you also get rewarded with some bags.
And that's it for this. Here you can see the alliance ranking, where you are standing as your alliance.
And uh that's it for this instructions.
We are now going to go and check out the setups that we want to use to beat our setups that we want to use to beat our enemy.
All right, here we are and this is the action log. And here you can see back what happened in the last battles. Here we have
uh the basic setup. If you're not R4 or R5, you can swap around, but it's not really necessary. An R4 or an R5 is going to fix it for you and he's going
to need to really set up these squads correctly. And what you want to do is you want to check out where we can improve. And we Our alliance has two big
wheels and it's Devios and Aza. And we don't want to put them together in one lane. We want to separate them. So, we put Aza in the middle lane. And since
Dev is the higher uh wheel here, we want to put also Cat Pajamas in the middle lane. And as you can see, this middle lane is pretty stacked. So,
we want to also make sure that the right lane has some push, cuz a wheel can only defeat two uh squads and after that, it's done. The wheel cannot go crazy and
and kill all squads. No, he can only kill two squads and then he has to go and then other people have to fight as well. And what we have here is as
follows. You're going to go all the way down here and you want to see where is the bottom point. What is the lowest amount of uh
power squad that I can have here and you want to move them to the left lane. And this is basically how you're going to set it up. I'm going to set it up
real quick and then I'm going to show you guys how it's how it is.
So, the squads have been set up and as you can see all the way up here is the strongest and the strongest goes as last and it goes all the way down here and I
want to basically check out what I have here. The last guy in this lane has eight mil squad strength. So, that's okay. Then I want to go to the right
lane and I also want to check all of this. And you see Davios is going to be less and Draconi is going to be second less and that's great. I expect them to
take out four squads together and we want to go all the way down here and check again who is the last squad with the squad might and it's Pola PL and he
she has 7.7 mil squad might and then we want to check out the left lane and see what we have here. And the first one is 7.4. So, the
left lane is the weaker lane. And I've did that on purpose cuz I want to have full strength on the mid lane and the right lane. And uh
that's how you basically set it up. And we are going to check out the next day how this worked out for us and what the mistakes were that we made or if we did
it perfect.
All right, guys. We're back at Canyon Conquest and let's get into it. We are at the final battle and here we are.
Let's go to the battle phase and we are going to check out our group and we got second place. We had some bad luck.
The the the guide the tactic it is a gamble and sometimes it doesn't pay off. But in the other battles we have won all our battles and
we're now at around five against Moonrise and what we're going to do and what I did already is I checked out what Moonrise is and what teams they have and
how we do that, we go to round four and we check out what Moon Riders has and what we want to do is Moon Riders is on the left, so we check out the battle
report and we see how they did and how strong of players they got and it's nothing we cannot handle I think. So, I I don't want to speak too soon cuz I
might be embarrassing myself, but the left lane does look okay and the mid lane is also not that impressive as you can see here. As I explained, you got
the will guy here. He did his two battles, but that's all he can do. So, putting one will in one lane is not going to suffice to win it. As you can
see here, they lost this lane cuz they only gambled on the will to grab that win for them and that's not how this works. It is a team effort. So, having
two strong lanes is better than having three lanes with one will guarding one lane and just having two attacks and still lose.
We have the right lane here and they here they won as well. They had a more passive setup here and that's why they won. What
we are going to do as follows is I switched some things around. The battle has already started, so I cannot show you guys what I did or at least I cannot
change anything anymore, but we go to view deployment and as you can see, I've put Aza on the left lane and I put Devios to remain on the right lane and
I've also just make sure that the strongest ones are fighting. I made a little mistake of not checking really good who is where,
but yeah, that that can happen. We are going to wait now for 1 hour and we are going to see what is up. Of course, I'm not going to show it let you guys watch
this me waiting 1 hour. I'm going to skip this part and I'll see you guys in an hour.
So guys, we are at the settlement phase.
The last battle has concluded and we are going to look at the match records and see how we did. We lost the first battle, the second we won, the third we
won, the fourth we won, and the fifth we won, and we are going to check out our battle report and here we go. As we can see as followed, we are going to go we
are not going to see all of this cuz it's going to take a few. We are going to go straight to the battle reports and we won the left lane and we won the
right lane. The middle lane we did lose, but that was our intention. We just want to grab the win and that is what we did
and that is amazing and that has made us go to the next rank. We are now in the silver rank. We are gone from the bronze. We got some nice rewards here as
well and once we are in the silver rank, we will face tougher challenges and bigger choices to make in what lane we pick to win and what way lane we pick to
lose. If you like this guys, you know what to do. Hit that subscribe, smash that like and I'll see you guys in the next time. Bye-bye.
YouTube ↗

Pesquisar este tema no YouTube: «Conquista do Cânion»

Consulta de pesquisa: Last Asylum Plague Conquista do Cânion estratégia

Ver mais no YouTube

Esta guia ajudou?